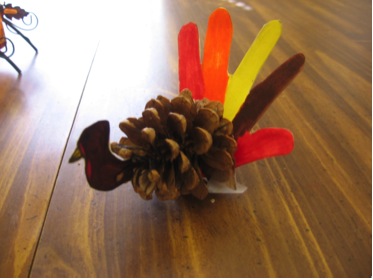
When I was in the first or second grade I made one of these little turkeys. I remember giving to my grandmother and she would put it out during Thanksgiving. When my first son was born, I couldn’t wait to make one with him. We made it when he was only 4 months old and I still have it after all these years. What a great memory!
Supplies
- Pine cone
- Cardstock—white or cream
- Pencil
- Scissors
- Glue
- Markers—orange, red, yellow and brown
Directions
- Trace your child's hand. Make sure to spread out their fingers so you can make feathers later.
- Color the hand and cut it out.
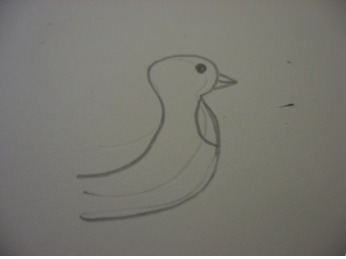
- Now we need to make a head for the turkey (see photo at right). Make it in the shape of an S so it will look turkey-like when it is attached to the pinecone. Color it (front and back) and cut it out.
- Be suer to write your child's name and year on it so you can remember when you made it and how old they were at the time.
- Take the hand and glue it on the big end of the pine cone.
- Slip the turkey head between the stem s on the other end and add glue.
- Let it dry over night.
Then, find a special place for your turkey. Use it as a center piece on the kitchen table or a bookshelf and enjoy!
Turkey Facts:
- Benjamin Franklin wanted the national bird to be a turkey.
- A wild turkey’s gobble can be heard a mile away.
Visit Terri's Creative Parenting page on Facebook.
Access this and all our blogs from your iPhone with the free MetroFamily Magazine App