For the seventh installment of this series of easy, fun and engaging arts integration activities that kids and families can enjoy together, we’re exploring identity. Integrating the arts with students’ everyday academics is proven to increase comprehension and retention! Whether your kids are learning virtually, in a classroom setting or homeschooled, there are plenty of opportunities to learn together with this creative, introspective activity.
Lesson 7: Identity Development and Self-Portrait
Identity is the fact of being who or what a person or thing is. Beliefs, qualities, personality, looks and culture are just a few places people find their identity. Psychological identity relates to a person’s self image. Self-esteem and individuality play a big role in the way we see ourselves. Identity development is the process in which humans develop a clear and unique view of themselves and of their identity. Developing a positive view of our personal identities is an ongoing task for all of us.
A self-portrait is a work of art that an artist creates of themselves. The work can be drawn, painted, photographed or sculpted, for example. Artists have been creating self-portraits for centuries, but they became especially popular in the 1500s when mirrors became more readily available. There are many reasons an artist might create a self-portrait. They might be practicing their techniques, exploring new techniques or ideas, expressing something they feel, or connecting with themselves or their audience.
Creating a Self-Portrait
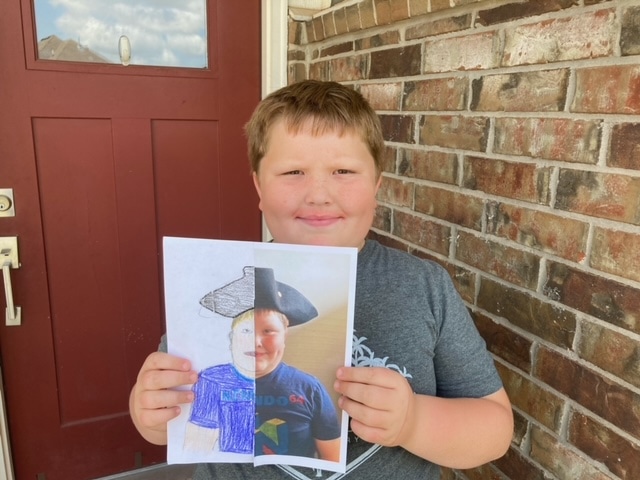
Create a self portrait that portrays your identity.
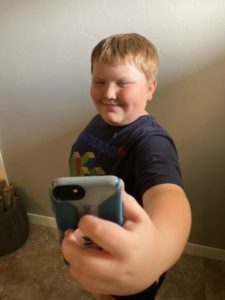 Take a photo and print it.
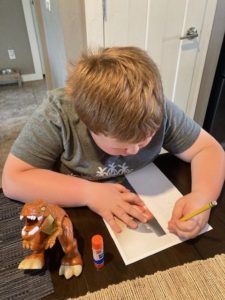
- Have an adult help take a photo of your face with a simple background, such as a plain wall or a piece of fabric like a pillowcase. Print it at home or get it printed on photo or plain copy paper at a local store that prints photos or makes copies.
- Fold the photo in half down the center of your face so that you only see the left or right side of your face.
- You may leave it folded or cut your portrait in half. Then glue it on a piece of paper.
- Make sure you glue the photo on one half of the paper, leaving space for you to draw on the other side.
 Complete your self portrait.
- Use the printed photo as a guide to draw the other side of your face.
- Use your favorite medium to complete your portrait. Example mediums are crayons, paint, pastels, colored pencils, markers or torn paper (for collage). Use what inspires you.
- Optional: Add things that are important to you to your self-portrait by drawing, painting or collaging.
Share your work.
Oklahoma A+ Schools would love to see your portraits! Share your artwork on Facebook @okasailbox, OKA+ Schools Institute or email them to aplusmail@uco.edu and they will then share your creations on their Facebook page.
Integrated arts activities are created by certified teachers and provided by Oklahoma A+ Schools to meet the Oklahoma Academic Standards across multiple content areas. Find more activities at metrofamilymagazine.com/